As soon as the sun goes down, the temperature seems to plummet. You and your friends hurry to slip on another layer, but the evening chill still prickles your skin. Someone misses the warmth of summer already. If only there was a way to bring heat outside…
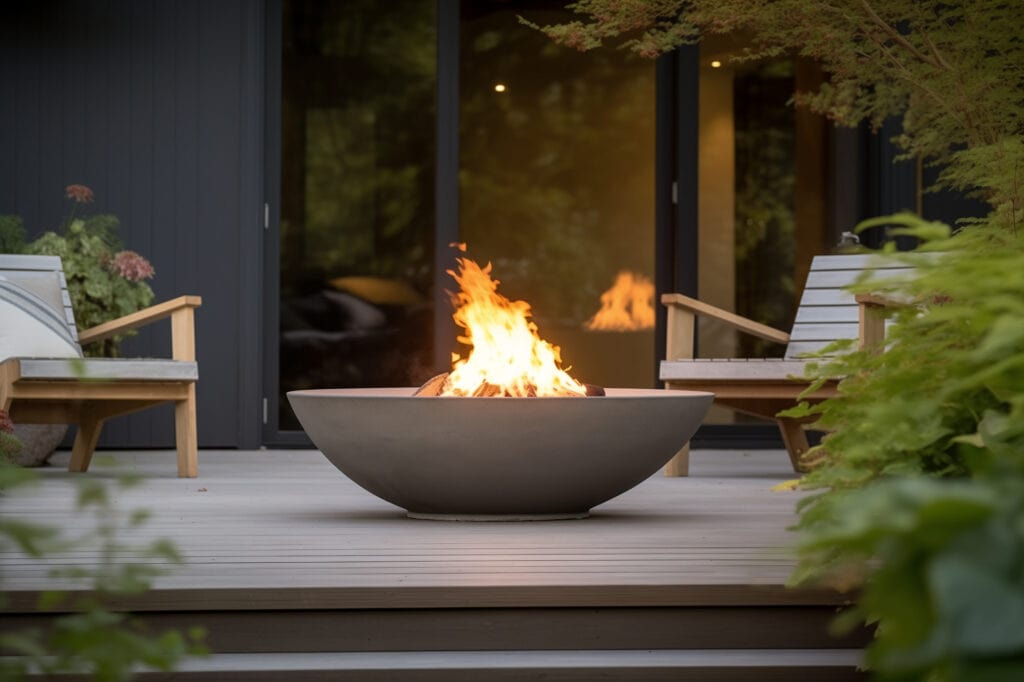
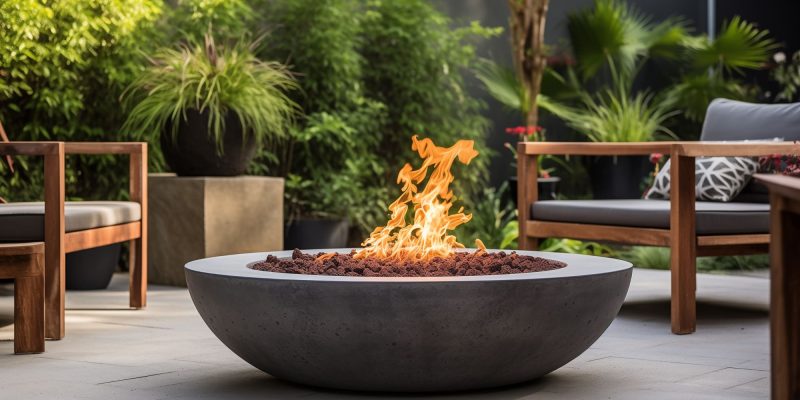
Then it hits you – what about a fire bowl? Close your eyes and imagine it: your backyard lit up by flickering flames. Chairs circled around a concrete basin as firelight dances across smiling faces. Laughter and joy filling the air, carried through the night by wisps of smoke. A fire bowl creates ambiance and warmth to transform your outdoor area into a true backyard oasis that can be enjoyed long after summer fades.
In this post, let’s dig into everything that goes into creating the ultimate concrete fire bowl, from mesmerizing materials to easy installation instructions. Read on for design inspiration, construction tips, and even a complete DIY guide. Then get ready to fire it up!
Captivating Concrete Fire Bowl Design Ideas
When planning your concrete fire bowl, creativity is key for making a showstopping statement piece. Play with shapes, materials, colors, and finishing techniques to design your dream basin.
- Fire and Ice: Choose a decorative filling material like crushed glass or lava stones for visual appeal. Go for an icy look with shades of blue, or modern warmth with copper tones. Mixing materials can look striking too. Arrange crushed glass on one side, lava rock on the other, separated by the flickering flames.
- Pretty in Acid Stain: Take concrete to the next level with specialty acid-based concrete stains. They soak into the concrete to create unique mottled finishes in dazzling colors like emerald, sapphire, and plum. Sealing protects the finish.
- Location, Location: Picture guests gathering around the fire bowl – where’s the best spot? Patios, decks, or dedicated sitting areas work nicely. Place it near the house for convenience, but not too close to structures or trees. Ensure adequate ventilation and check local fire codes too.
- Go Big or Go Home: Standard fire bowls span 3-5 feet across, but customize yours to your space. Just ensure it’s large enough to contain the fire. Leave ample surrounding open space so guests can circulated comfortably.
With award-winning creative touches, your fire bowl design will be the talk of the neighborhood. Now, let’s cover professional installation fundamentals.
Fire Bowl Installation Tips from a Pro

Once your design is set, proper installation techniques ensure your concrete fire bowl functions flawlessly for years. Here are pro tips:
- Building Up From Below: Leveling and preparing the base lays groundwork for success. Compact soil topped with a 4” gravel layer prevents settling cracks. A paver or concrete sub-base adds stability and raises the fire feature up for better visibility.
- Making Connections: Gas-powered fire bowls require coordinating gas lines and hookups. Or select wood-burning for off-the-grid ambiance. Ventilate gas models fully by integrating drains or drilling holes near the base. Follow local codes for permanent backyard fire installations.
- Mix and Pour with Care: Crafting a concrete bowl uses similar techniques to pouring slabs or counter tops. Control temperature and moisture to allow thorough curing without cracks for strong, durable concrete. Then polish the surface for a sleek modern finish.
With smart prep and construction methods, this centerpiece will impress visitors for years rather than just one season. Next let’s construct your own DIY concrete fire bowl from start to finish.
DIY Concrete Fire Bowl: Complete Step-by-Step
Want to test your concrete skills? Follow these steps to create your own gorgeous, custom fire bowl at home using inexpensive supplies.
Supplies Needed:
- Concrete mix
- Two mixing containers (buckets, bowls)
- Molds – disposable plastic bowls/containers, one larger and one smaller
- Wire mesh
- Decorative crushed glass or stones
- Motor oil (for mold release)
- Sandpaper
- Tin snips
- Gel fuel fire cans
Step 1 – Mix Concrete: Add concrete mix to a mixing container. Slowly incorporate water to a thick, lump-free consistency like thick pancake batter. Avoid over-watering.
Step 2 – Oil Molds: Thoroughly coat the outside of the smaller mold and inner surface of the larger mold with motor oil. This will act as a release agent.
Step 3 – Pour Concrete: Pour concrete into larger mold. Press oiled smaller mold into center, forcing out air pockets. The displaced concrete will rise up the sides evenly.
Step 4 – Cure Concrete: Allow concrete fire bowl to cure undisturbed for 48+ hours. Keep smaller mold weighted down so it stays centered while concrete hardens.
Step 5 – Unmold Fire Bowl: Once fully cured, carefully detach concrete fire bowl from molds. Smooth any rough edges with sandpaper.
Step 6 – Add Wire Mesh: Cut wire mesh circles to fit neatly inside concrete basin, elevated above the bottom. This will support the decorative crushed glass topping.
Step 7 – Style with Crushed Glass: Add a layer of crushed glass over wire mesh. Arrange colors and textures as desired.
Step 8 – Light it Up: Finish by placing gel fuel fire cans/pots according to directions. Ignite cans, then relax outside next to your new favorite backyard feature!
Be sure to share photos of your completed DIY concrete fire bowl – we’d love to see your handcrafted creation!
Bring Your Backyard Oasis to Life
Once your concrete bowl is installed and styled, it’s time for the best part – gathering ‘round the glowing fire pit! Encourage guests to bask in the warmth and soothing ambiance.
Outfit your space with plush seating, cozy blankets, snacks, drinks, and good company. Let kids toast marshmallows or have friends over for a guitar singalong. Mount a nearby heater for chilly nights or install twinkly string lights overhead. The opportunities are endless when you have an eye-catching concrete fire bowl creating an inviting backyard escape right at home.
So don’t let the cooler weather stop you from enjoying your outdoor living area! Give us a call if you’re ready to add a custom concrete fire bowl to your backyard. Our team brings decades of experience in crafting creative, cozy concrete fire installations across Des Moines. Contact us today to chat about transform your space with welcoming warmth and wonderful memories all year long next to the glowing, mesmerizing flames.
Frequently Asked Questions
Can you make a concrete fire bowl?
Yes, you can make a concrete fire bowl either by constructing a custom mold and pouring concrete, or by using readily available materials like plastic bowls as makeshift molds. The concrete mix needs to cure fully, then you can remove the bowls and finish the concrete bowl with decorative touches like crushed glass or stones and a fire source like gel fuel. With some simple materials and a bit of effort, you can create a beautiful concrete fire bowl to enhance your outdoor space.
What is the best concrete for a fire bowl?
The best concrete for a fire bowl is a high-strength reinforced concrete mix designed for outdoor use, as it will need to withstand temperature changes from flames along with outdoor elements. A mix containing polymers or acrylic fortifiers improves strength and durability. Gravel mixes generally perform better than sand mixes. Making sure the concrete is properly mixed, poured, and cured is also extremely important for durability.
Is it OK to have a fire on concrete?
Yes, it is generally safe to have a fire directly on cured, high-quality concrete like a backyard patio or fire pit base. However, extreme heat over time can cause surface cracks or discoloration. For a fire bowl, it’s best to contain the fire itself above the concrete surface, either on a grate or bed of sand or glass media. Regular cleaning of a concrete fire bowl will also help prevent heat damage long-term.
Can you burn wood in a concrete fire bowl?
You can burn wood in a concrete fire bowl, but it’s not the best idea compared to gas or gel fuel. Wood burning leaves more ash residue which requires frequent cleaning. And placing hot logs directly on concrete can increase the likelihood of thermal cracking or mortar pop-outs over time. Use a metal or wire grate elevated above concrete if burning wood. For minimal mess and maintenance, gel fuel cans work excellently and provide ambient flames.

