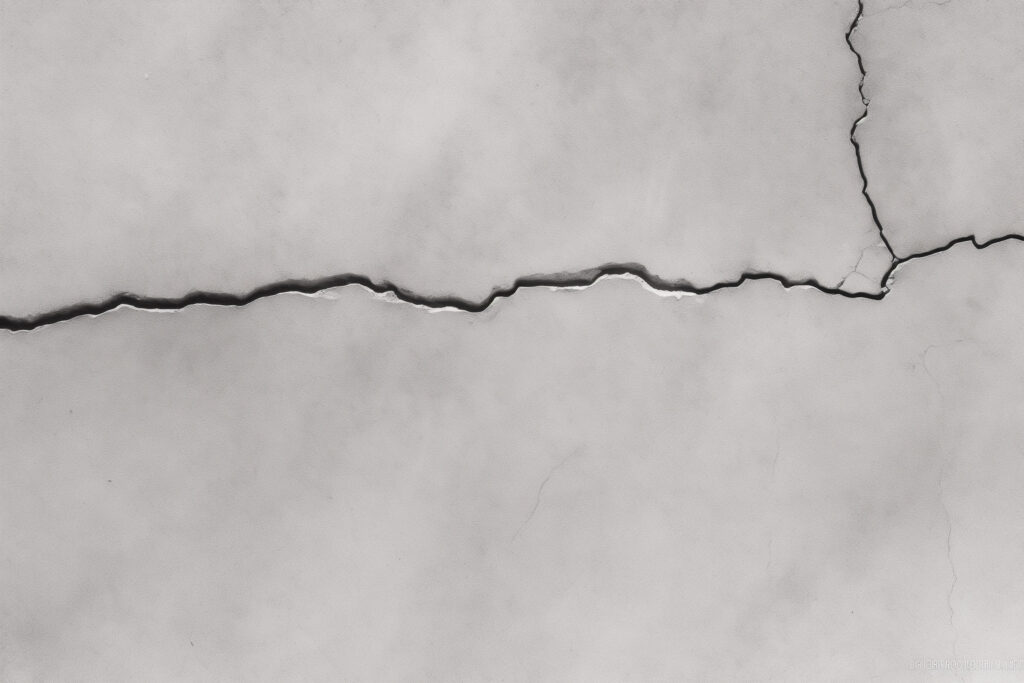
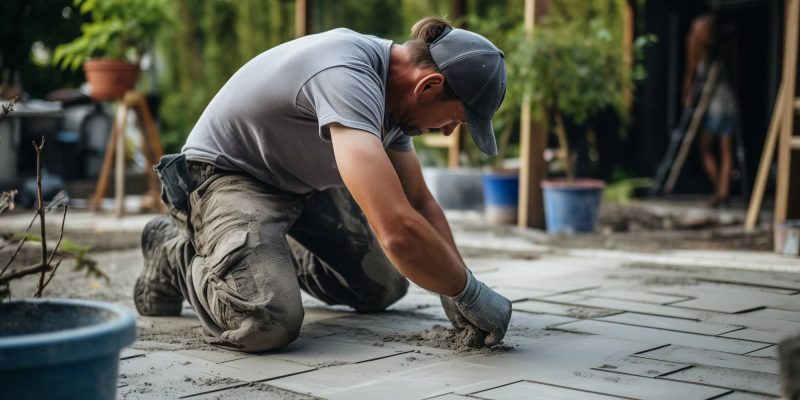
Cracks happen. That’s a fact of life with exterior concrete no matter if we’re talking driveways, foundations, or patios. The freeze/thaw cycles, heat waves, ground shifts, and general wear and tear in the Des Moines area wreak havoc even on properly poured and cured concrete.
Patio cracks let water seep below the slab surface, inviting soil erosion and sinkage. They collect dirt, debris, and weed seeds. And they only worsen over time through additional seasonal movement and damage.
While a few small cracks may seem harmless, letting them proliferate ultimately impacts the structural integrity. The more interconnected cracks in a patio slab, the more prone it becomes to settling, rising, or even total collapse.
Fortunately, preventing this expensive destruction is as simple as sealing up cracks efficiently when they occur. This guide will cover everything Des Moines homeowners need to know about DIY patio crack repairs including:
- Critical timing for repairs
- Facilitating better crack repairs through preparation
- Material options for every crack size
- Step-by-step application instructions
- Blending repairs to “like new” results
Follow these tips to tackle cracks DIY style and dodge major concrete replacement costs down the road.
Attack Cracks ASAP – Here’s Why
It’s human nature to put things off. But when it comes to concrete cracks, procrastination pays off with exponential headaches. Sealing damages immediately prevents additional moisture intrusion and soil erosion that contributes to sinking or tilting slabs over time.
Act now, before interconnected cracks compound and eventually require full patio demolition and replacement. Thin hairline cracks filling alone averages just $10-30 in materials. Waiting until tilting, cracking, and soil sinkage necessitates heavy equipment tearing out and re-pouring a full slab costs thousands.
Save yourself this headache by simply:
- Inspecting patio thoroughly after winter thaws, heavy rains, etc.
- Sealing all developing hairline cracks right away
- Monitoring slab integrity going forward
- Repeating crack seal steps routinely at first signs of new cracks
Proper Concrete Crack Preparation

Before even attempting crack repairs, take time to set yourself up for success through proper prep:
Clean Thoroughly – Use a hammer/chisel followed by a wire brush attachment on a drill to loosen debris. Flush loosened particles away with a pressure washer.
Let Concrete Dry – Apply repairs only when the cleaned crack and surrounding slab area are completely moisture-free. Waiting at least 24 hours after precipitation is recommended.
Widen/Undercut Edges – For more substantial cracks beyond hairlines, use an angle grinder with concrete crack chasing blade to open the top 1⁄4 inch into a “V” shape. This mechanical grip boosts adhesion.
DIY Concrete Crack Repair Materials Guide
Hairline Cracks – Basic concrete crack filler caulks that are silicone or latex based work well for sealing cracks up to 1⁄4 inch wide. These come in simple applicator tubes used in caulking guns.
Larger Cracks – When exceeding over 1⁄4 inch width and depth, switch to more robust polyurethane or epoxy-based concrete repair compounds. These resins have outstanding bonding strength and weather resistance. They fill deep voids thoroughly.
Best Practices – Only apply compounds when temps are between 50-90°F and will remain so for the entire curing duration per product guidelines. Avoid exterior slab repairs if precipitation is likely within 24-hours of application.
Step-By-Step: DIY Concrete Crack Sealing
Armed with the right materials and proper slab prep, here are the basic application steps:
- Prepare repair compound per individual product mixing directions
- Force material firmly into crack depths using an applicator nozzle tip that fits crack width
- Slightly overfill crack width to account for drying/curing shrinkage
- Use a putty knife, trowel, or rounded tool to strike smooth excess above crack
- Texture final topped layer if surrounding concrete has exposed aggregate for camouflage
- Avoid foot traffic until fully cured. Most products today allow 24 hour recovery.
TIP
Further protect repairs by applying a thin top coat of concrete sealer once fully cured. This adds waterproofing and UV-resistance.
Achieving Seamless Concrete Crack Repair Finishes
The final step lies in blending repairs for a “good as new” patio appearance. Here’s how:
Color Matching – Choose repair compounds in gray concrete-tone colors or custom tint two-part epoxy fillers before mixing to closely resemble surrounding concrete slab color.
Texturing – While patches harden smooth by nature, mimicking the adjacent surface texture hides them well. Broom, stamp, or brush the wet compound to match patio surroundings.
Sealing – A thin coat of clear concrete sealant over the ENTIRE patio slab unifies repairs visually. Plus, it prevents future moisture damage and staining.
Take DIY Action to Save Thousands
Left alone, small patio cracks inevitably escalate into major eyesores requiring full-depth demolition. But with prompt patching, you can add decades of renewed life affordably. Don’t resignedly live with crumbling concrete any longer! Follow these DIY steps, materials tips, and finishing tricks to make cracks virtually disappear.
Need help assessing the current state of your patio or planning more extensive repairs? Our team offers free consultations to view your property and provide renovation recommendations tailored to your needs. Give us a call today to discuss reviving your worn out concrete patio before the damage is irreversible!

